


It was very simple to make!
Supplies:
2 pieces thin cardboard cut to 7 x 11 1/2
2 pieces of thicker Cardboard cut to 5 x 7
Thin cardboard scraps (for title and spine details)
Patterned paper for pages
Orings
Bind it all
Embellishments
Cartridges I used: Storybook, Create-a-critter, Accent Essentials
Instructions:
1. Score the 2 thin pieces of cardboard at 5" and 6 1/2"
2. Rub the 1 1/2 center of the 2 pieces around a round object such as a broom handle to shape it. This will be the spine of your book.
3. Adhere a 5x7 piece of thicker cardboard to both sides of one thin piece of cardboard leaving the center 1 1/2 "spine" clear.
4. Adhere the 2nd piece of 7 x 11 1/2 thin piece of cardboard on top. Your book is now ready to decorate.
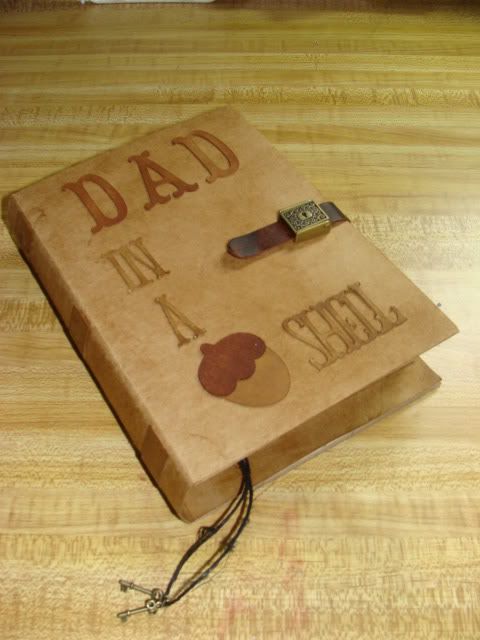
5. I found a super cute closure at Hobby Lobby awhile back and was waiting for just the right project and this was it! It is by Zutter and it is called Perfect Closures. It was super easy to attach! You can also punch holes at add some ribbon to tie it shut.
6. Cut title from thin cardboard and attach. (I used storybook for the title and Create a Critter for the Acorn. I used my Gypsy to merge the words together. I cut with settings: Blade 6; Pressure Max.)
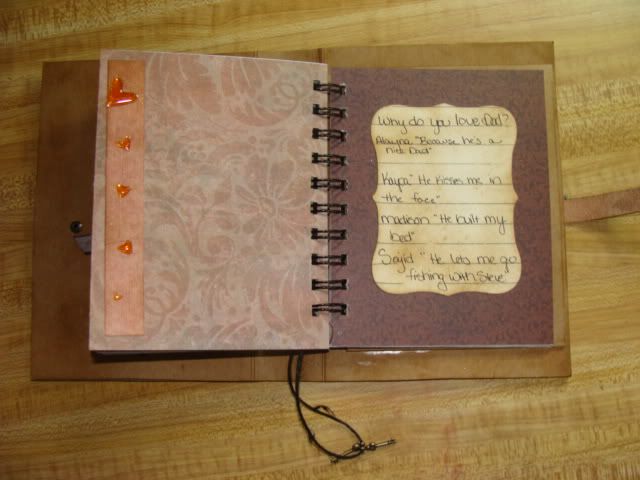
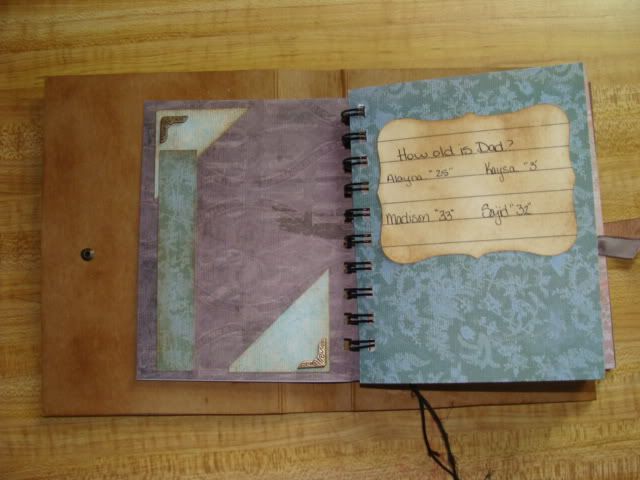
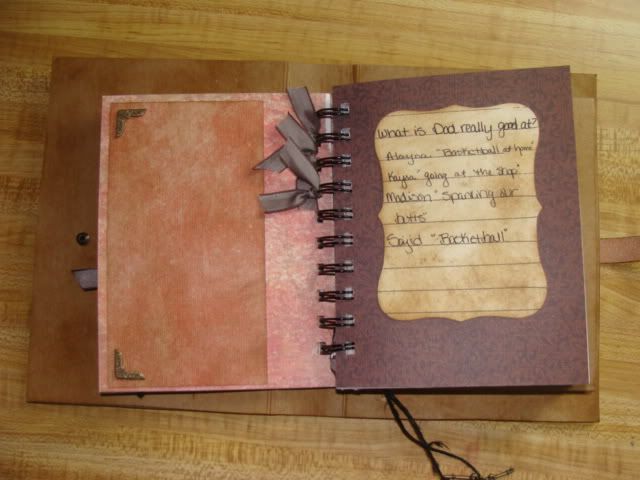
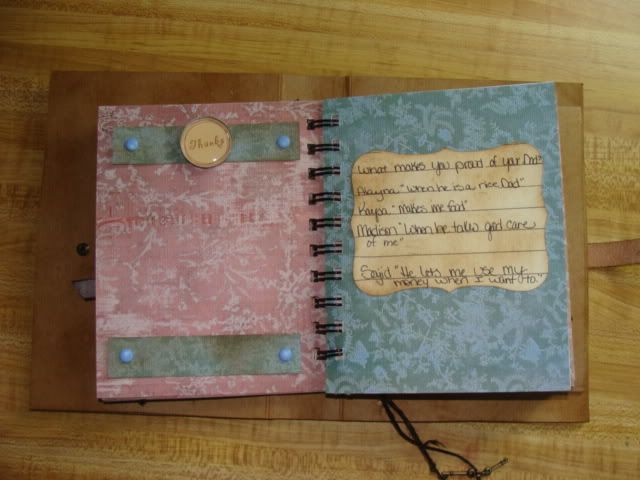
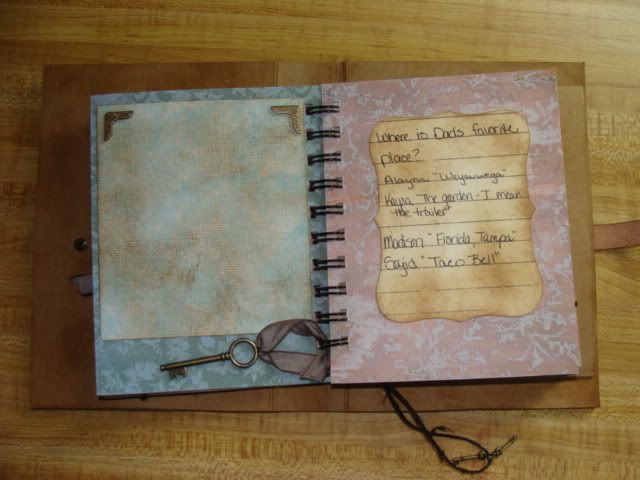
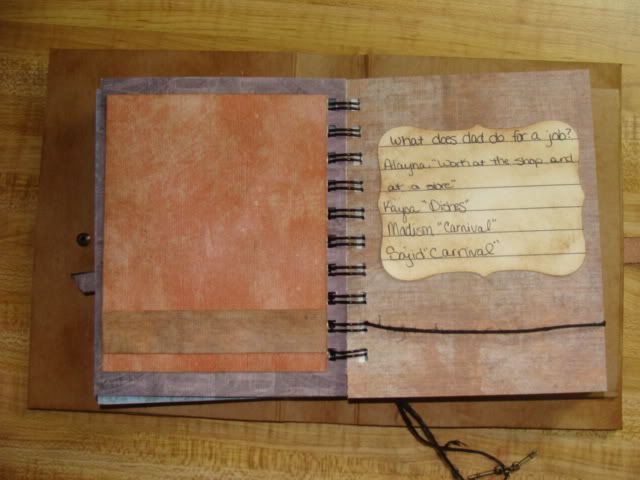
7. For the inner pages I used a mat stack (I believe it was DCWV Old World) and cut the pieces down to 4 1/2" x 5 3/4" and I attached to pieces back to back. I also cut a piece of thin cardboard to the same size to attach the inner book to the outer shell of the book.
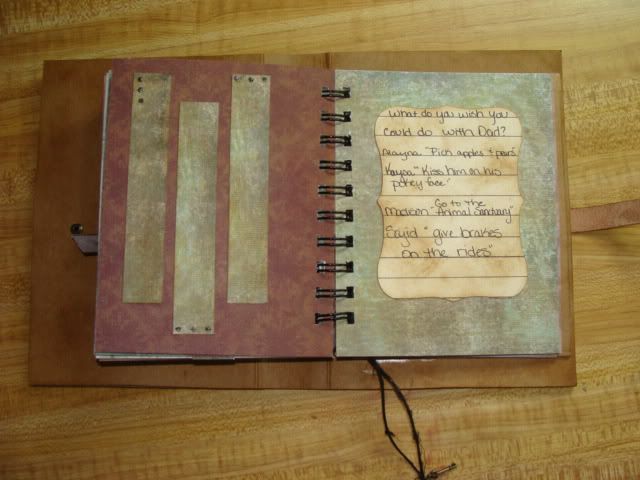
8. Create a pocket to slide the inner pages in to the back page of the album. I cut a piece of thin cardstock to 5"x7" and scored it 1/2" in on three sides. Attach this to the back page of your album and it creates a pocket to slide the inner album into.
8. Use the Bind-it-all to cut your holes and attach an o-ring. Make sure that your thin cardboard is the last page of your book.
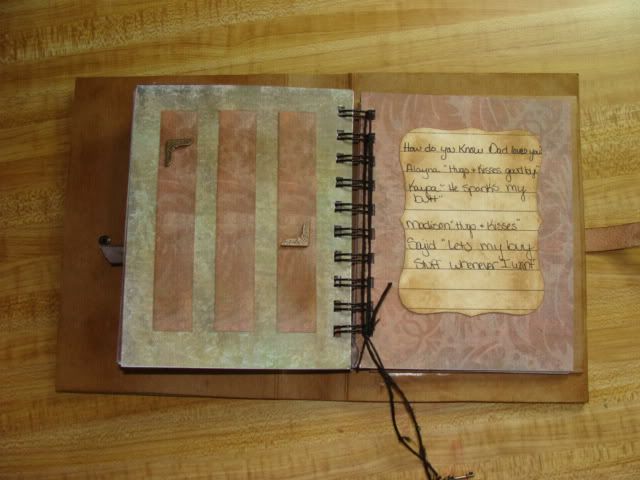
9. Use the Bind-it-all to bind your inner album. I used a 3/4" 0-ring for this album but that will depend on how many pages you have. Make sure to place the thin carboard on the top of your book before binding. This will help to hid the opening in the 0-ring after you bind it.
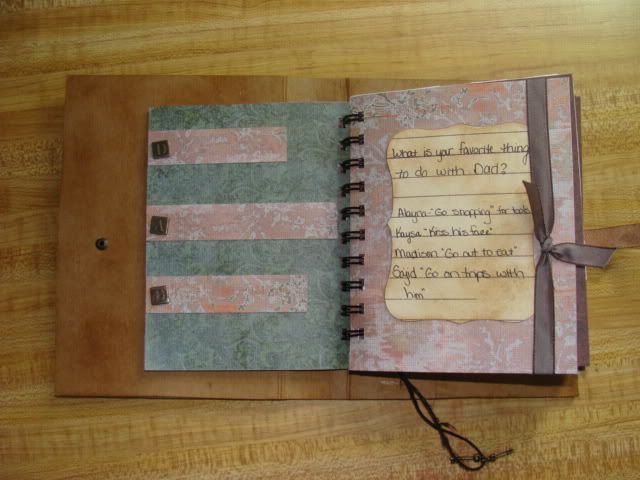
10. Now Embellish your album as you wish. I used Accent Essentials to create the journaling tabs.
Thanks for looking! And...if you like it.....leave me a happy thought! It makes me smile!!!!!


6 comments:
love your book..
What a great job you did! I am just finishing a baby boy book, now I'm hooked, lol. Great tip on making the spine!. TFS, Mary M
what a great book and such a creative way to incorporate jounaling!! I imagine dad will treasure it dearly!
This is beautiful! I have that mat stack, so I know exactly how beautiful those papers are. What a really good idea! Love it! :) Janis
I love your book! Awesome job!
great job.
what an awesome mini.
toilet roll mini scrapbook comp
Post a Comment