I have been wanting to do this for awhile but didn't know how to do it. Then I was told you could do it on the Design Studio software and Oh My....how easy was that. It only took me about a half hour to design it last night. I played around with it a lot more this morning because I just didn't like the way the flowers were looking. But...I am happy with it now. How fun!!!! Do you want one? I am having so much fun with it...maybe I could make one or two for someone else....who wants one?
UPDATE: I WILL BE CREATING A TUTORIAL SOON TO SHOW YOU HOW YOU CAN DO THIS. IT IS SUPER EASY!!!!!!! YOU ARE GOING TO LOVE IT!!!!

Thursday, December 23, 2010


Tuesday, December 21, 2010
Exciting News!!!!!!
I am so excited! I have been one of the lucky crafters chosen to be a 2011 guest designer for Peachy Keen Stamps. My week is not until the end of August....but I am still ecsatict! That gives me lots of time to come up with some fantastic projects!!!!! ;)
Big congratulations to all of the wonderful designers and I can't wait to see what everyone creates. This is going to be a fun year at Peachy Keen Stamps!!!!!
Here is the list of all the amazing guest designers for 2011:
Big congratulations to all of the wonderful designers and I can't wait to see what everyone creates. This is going to be a fun year at Peachy Keen Stamps!!!!!
Here is the list of all the amazing guest designers for 2011:
Friday, December 17, 2010
8 days until Christmas - Yikes!!!
OK...I missed yesterday...sorry....the day just got away on me.
Today I am working on Teacher Gifts. I am altering these photo boxes from Cosmo Cricket. My intentions are to get them all altered (I have 6 to make) and then create some all occasion cards to put in them because who couldn't use cards right?
So here is the first completed box:
I used papers from My Mind's Eye Holly Jolly collection and cut them to fit each side of the box. I used YES paste to adhere them to the box. YES paste is so easy to use and holds wonderfully!!!! I just spread it with my finger where I need it and I keep a bowl of water next to me and dip my finger in every once in awhile to help spread the paste around. The paper doesn't wrinkle like it does with Mod Podge. Then I cut out some flower shapes and misted them with water and scrunched them up into little balls. Then I opened them up and had these wonderful distressed flowers. I layered them and added some brads.
Now...I have 5 more to make. They are all covered and I have cut out the holes....just need to finish embellishing them.


This afternoon we are heading up north to visit my Dad for the weekend. Have a great weekend!!!!!!!!!
Today I am working on Teacher Gifts. I am altering these photo boxes from Cosmo Cricket. My intentions are to get them all altered (I have 6 to make) and then create some all occasion cards to put in them because who couldn't use cards right?
So here is the first completed box:
I used papers from My Mind's Eye Holly Jolly collection and cut them to fit each side of the box. I used YES paste to adhere them to the box. YES paste is so easy to use and holds wonderfully!!!! I just spread it with my finger where I need it and I keep a bowl of water next to me and dip my finger in every once in awhile to help spread the paste around. The paper doesn't wrinkle like it does with Mod Podge. Then I cut out some flower shapes and misted them with water and scrunched them up into little balls. Then I opened them up and had these wonderful distressed flowers. I layered them and added some brads.
Now...I have 5 more to make. They are all covered and I have cut out the holes....just need to finish embellishing them.


This afternoon we are heading up north to visit my Dad for the weekend. Have a great weekend!!!!!!!!!
Wednesday, December 15, 2010
Christmas Countdown - 10 days til Christmas!!!!!!
Here is a simple ornament you can make.
1.Take some patterned paper and cut it into strips of 2" x 12".
2. Score the entire length of each strip every 1/2"
3. Cut off one rectangle from one of your strips.
4. Attach the two strips together with some adhesive.
5. Cut out 2-2" circles and set aside.
6. Accordion fold the strips and they will fall into a circular shape automatically.
7. Use some fast drying liquid adhesive (such as Zip Dry) and adhere the circles to the front and back of the ornament and hold in place until dry.
8. Decorate as you wish. I simply added a Peel off sticker from Best Creations. (You could also stamp on a 1 3/4" circle, add a sticker; etc.)
-You could also do a second layer by cutting 4"x12" strips and doing the same.
-Another fabulous effect would be to use an edger punch to add some detail to your ornaments. (I ran out of time today....otherwise I indended on doing this....maybe I will get a chance later tonight to add another layer to this ornament :) )

1.Take some patterned paper and cut it into strips of 2" x 12".
2. Score the entire length of each strip every 1/2"
3. Cut off one rectangle from one of your strips.
4. Attach the two strips together with some adhesive.
5. Cut out 2-2" circles and set aside.
6. Accordion fold the strips and they will fall into a circular shape automatically.
7. Use some fast drying liquid adhesive (such as Zip Dry) and adhere the circles to the front and back of the ornament and hold in place until dry.
8. Decorate as you wish. I simply added a Peel off sticker from Best Creations. (You could also stamp on a 1 3/4" circle, add a sticker; etc.)
-You could also do a second layer by cutting 4"x12" strips and doing the same.
-Another fabulous effect would be to use an edger punch to add some detail to your ornaments. (I ran out of time today....otherwise I indended on doing this....maybe I will get a chance later tonight to add another layer to this ornament :) )

I have some SUPER exciting news to share but I have to wait for the OK.
Can't wait to share....I am super excited!!!!!!!!
HAVE A GREAT DAY!!!!
Have a great day!!!!!!!
Tuesday, December 14, 2010
11 days of Christmas - Have you sent out your Christmas cards yet?
I always think I have all this time to get things done and then before I know it....the time just sneaks up behind me. Well....I just have to pick up a little more ribbon to finish the rest of my cards and them I will get them in the mail and off to my family and friends.
This paper has been sitting in the store and so many people pick it up and want so badly to create something with it but just don't know what to do with it. So......I just had to take on the challenge. I really like how the cards turned out.
I used:
My Mind's Eye Bohemia Christmas "Believe" Reindeer Paper
EK Success Dotted Scallop edger punch
Mini Monograms Cartridge
Saying stamp from Stampin' Up! (I forget the name of the set...I will post this evening with it)
Reindeer Stamp - Reindeer Silhouette from Memory Box
Acetate
Cardstock
Ribbon

This paper has been sitting in the store and so many people pick it up and want so badly to create something with it but just don't know what to do with it. So......I just had to take on the challenge. I really like how the cards turned out.
I used:
My Mind's Eye Bohemia Christmas "Believe" Reindeer Paper
EK Success Dotted Scallop edger punch
Mini Monograms Cartridge
Saying stamp from Stampin' Up! (I forget the name of the set...I will post this evening with it)
Reindeer Stamp - Reindeer Silhouette from Memory Box
Acetate
Cardstock
Ribbon

See you tomorrow with only 10 crafty days left 'til Christmas.
Monday, December 13, 2010
12 days of Christmas (Can you believe it?)
I can't believe that there are only 12 days left until Christmas. YIKES!!!!! I have my shopping done.....now I just have to wrap it all. I wanted to do a 12 days of Christmas on my blog this year....so here goes.......
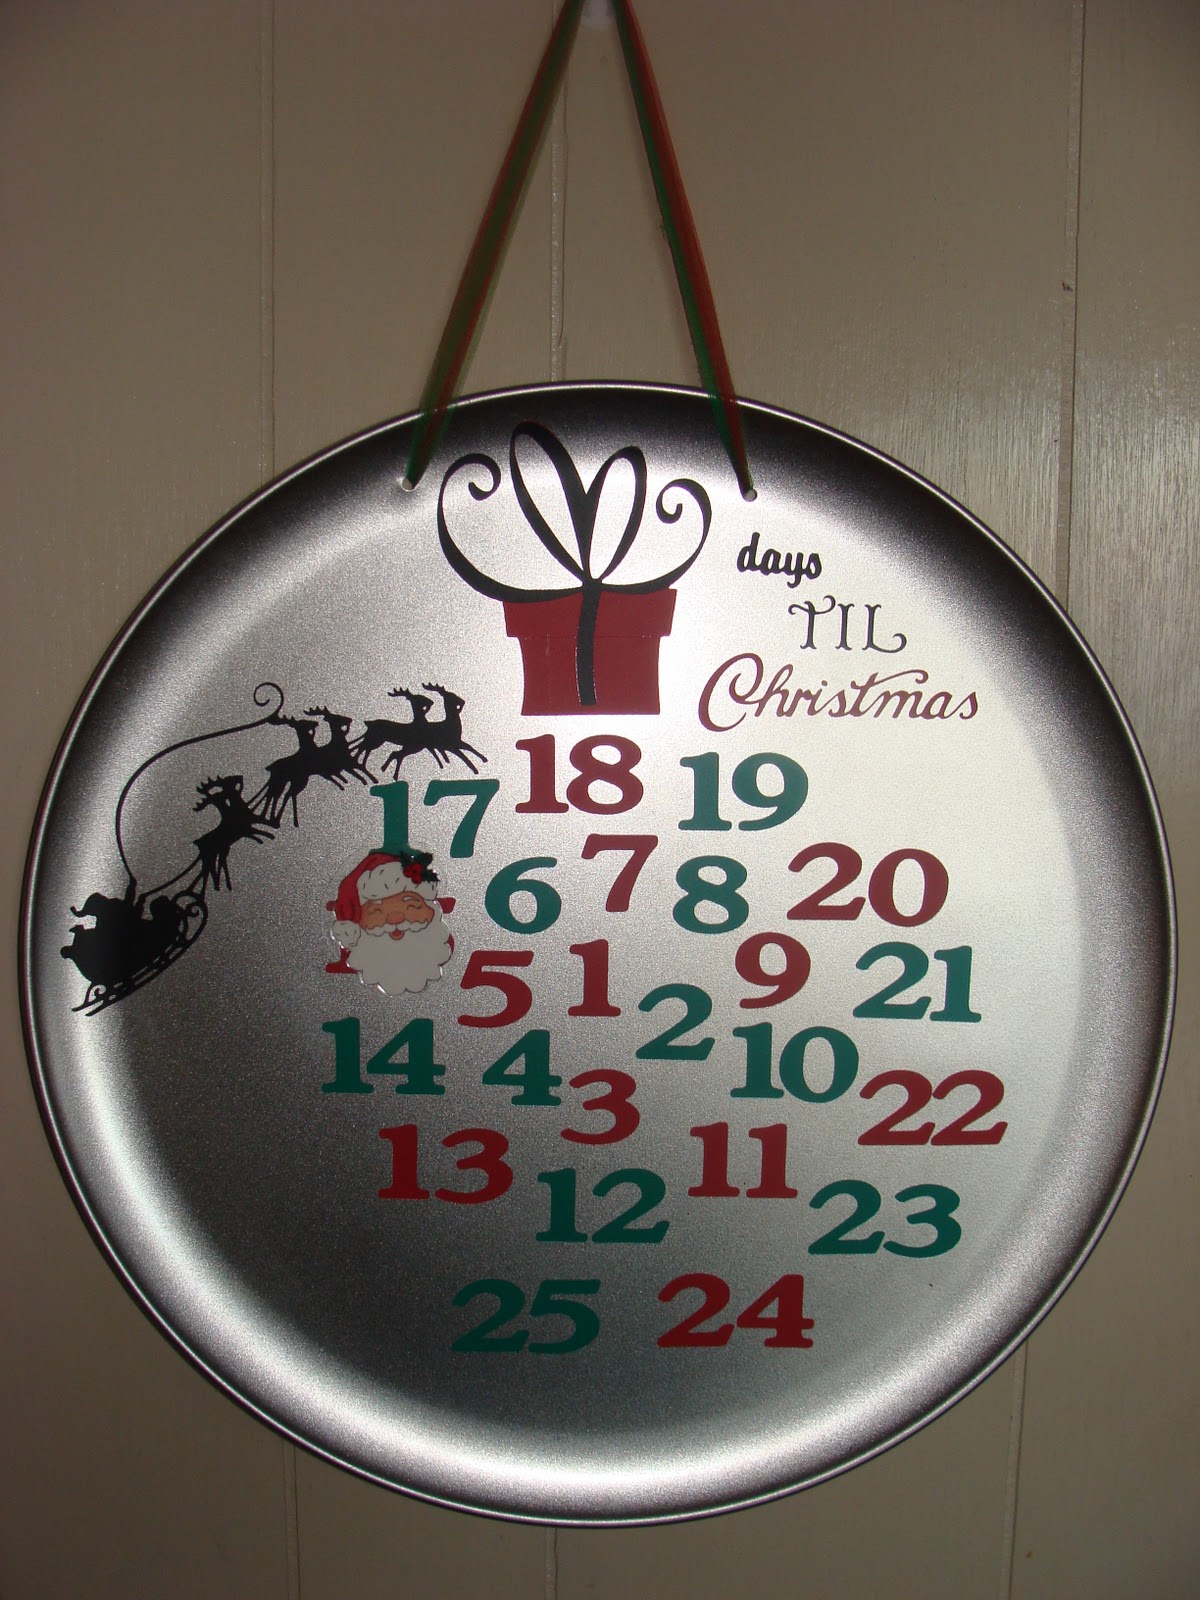
I created this fun Christmas countdown with a pizza pan. So easy and so cute. Plus a reason to play with some vinyl!!!!!
The Cartridges I used were: Christmas Noel (Solutions); Storybook; Plantin Schoolbook; Just Because Cards
I used the Santa face from the Peachy Keen Santa Set (so cute!).


I created this fun Christmas countdown with a pizza pan. So easy and so cute. Plus a reason to play with some vinyl!!!!!
The Cartridges I used were: Christmas Noel (Solutions); Storybook; Plantin Schoolbook; Just Because Cards
I used the Santa face from the Peachy Keen Santa Set (so cute!).

See you tomorrow with 11 days left till the big day and another great Christmas project!!!!
Friday, December 10, 2010
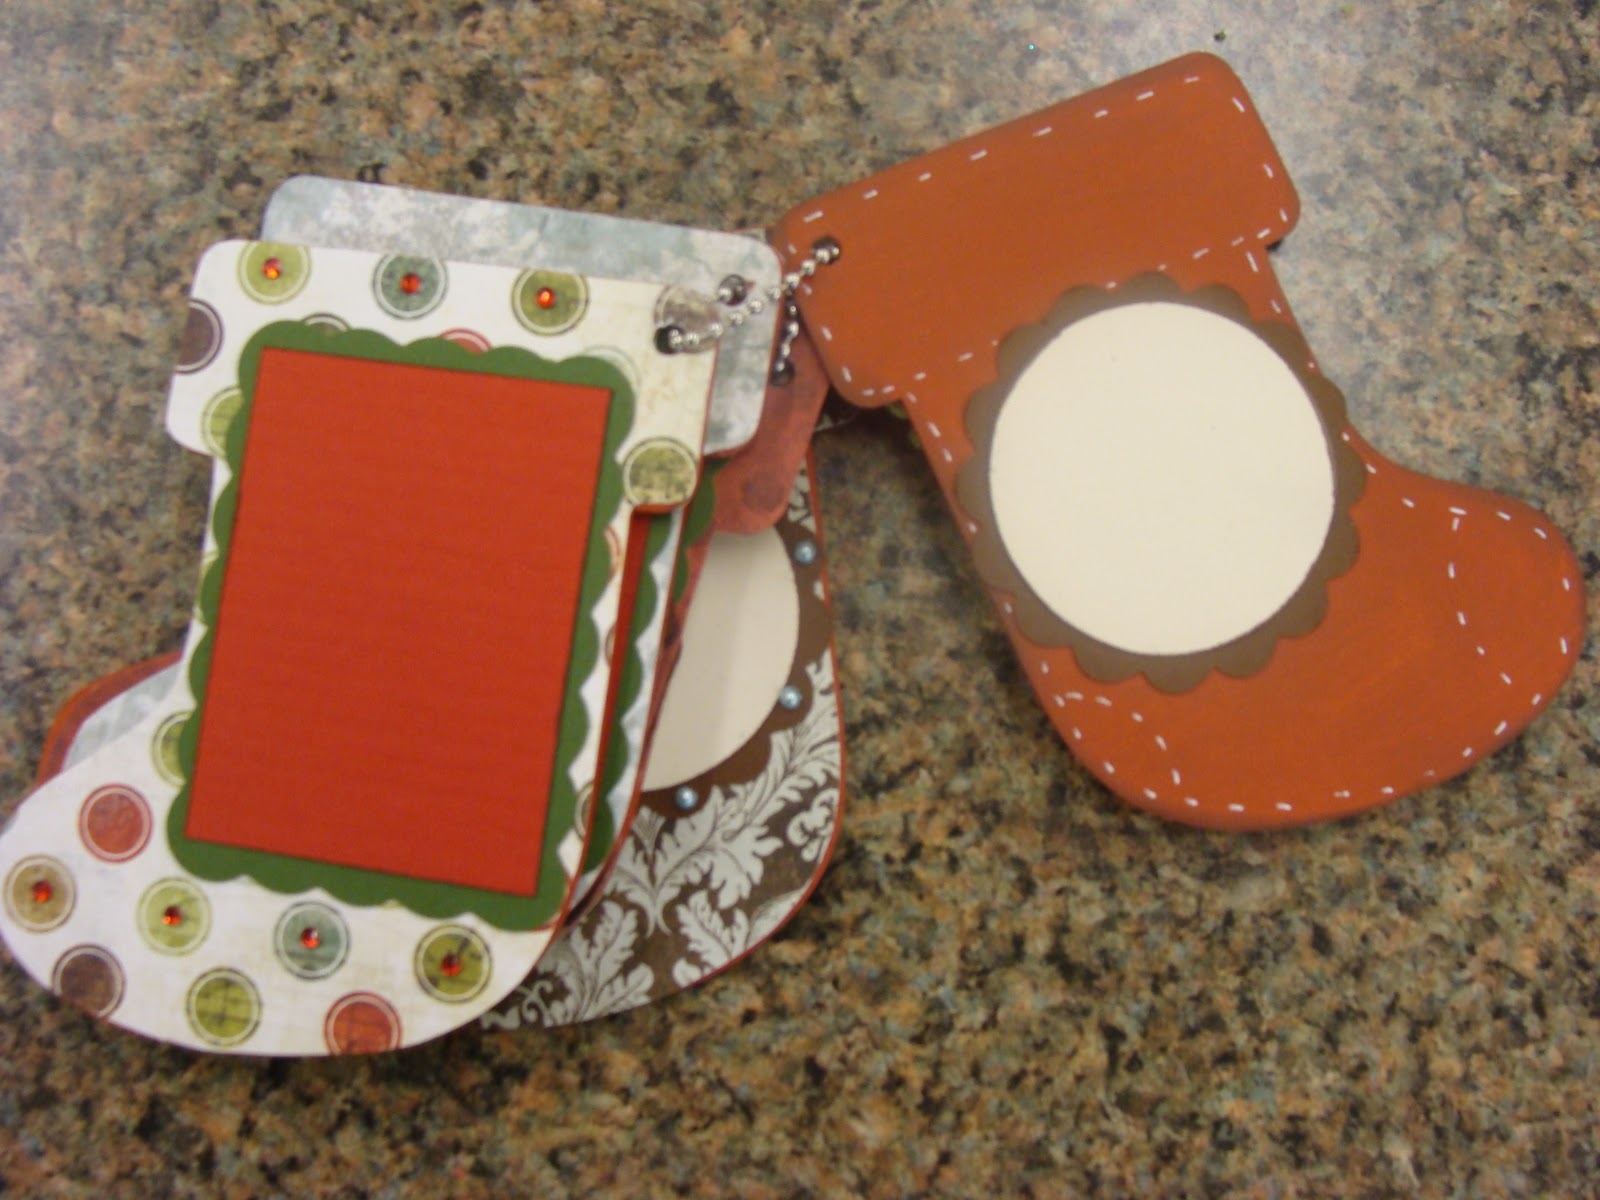
Mini Maya Road Chipboard Stocking album
Here is a mini album I threw together with a Maya Road chipboard album. I used the following Cricut Cartridges to complete this project:
Mini Mono-grams
Storybook
I used some acrylic paints to paint the front and back of the cover and I also painted the sides edges (about 1/2" in all around) of each stocking on both sides so wherever my paper may not cover....it would still look nice. I filled in the snowflake with some crystal effects and added a jem in the center. Then I justs adhered some fun ribbon to the front. I also faux stitched around the front of the stocking to add a final touch.

I used the Mini Monograms cartridge to cut out some scalloped circles and rectangles for photo and journaling mats.
 I used created a stencil with some plastic and the Storybook Cricut Cartridge and then used the stencil; glue; and flower soft to add some dimensional accents to some of the stockings.
 Here is just used some stickles to create some hand drawn holly and then I added some rinestones to add detail to the polka dot stocking on the right.
 I used my white gel pen to add some faux stictching again here to "trace" around some of the reindeer and around the scalloped circle.
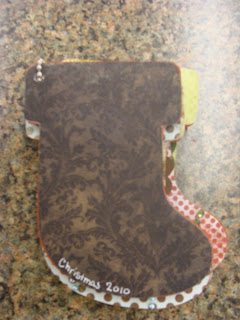
 This stocking seems so plain to me but I didn't want to add a photo on the back of the book. I used a gel pen to add the date.
Mini Mono-grams
Storybook
I used some acrylic paints to paint the front and back of the cover and I also painted the sides edges (about 1/2" in all around) of each stocking on both sides so wherever my paper may not cover....it would still look nice. I filled in the snowflake with some crystal effects and added a jem in the center. Then I justs adhered some fun ribbon to the front. I also faux stitched around the front of the stocking to add a final touch.


Just a touch of some matching pearls here around the scalloped circle.


Check out more fabulous minis at the Cricut Mini Albums blog.
Subscribe to:
Posts (Atom)
My creations are protected!